Preparing a file to be imported
To import the participants, you will first need to prepare your file for the import process.
Your file must contain unique e-mail addresses for each user at a minimum. Other than e-mail addresses, you need to include your alphanumeric IDs that you have in your own system.
*The ID and status values will not be visible to your participants.
The identifier for your users will be e-mail by default. If you import the IDs, IDs will become the primary identifier, followed by the e-mail field.
When importing IDs, it’s important to use the same IDs on your SSO Provider(If SSO is set-up as an authentication method for Qooper.)
Please note that importing mixed up IDs may end up blocking your participant’s access to the program when they are trying to access via SSO.
Participants can be imported by their roles in Qooper. You will need to perform individual operations to import mentees and mentors.
You can use different delimiters to import options for multiple selection profile form fields in different files, but your preference should apply to all records in the same file.
To have your file prepared, the first thing you need to do is to identify the fields you want to import and fill the file with the data you want to transfer.
Once you’re done with your data, you can save it as csv, .tsv, .xls, .xlsx, .xml or .txt formats.
Here is an example of a .xlsx file:

How to Import Participants to Programs?
Step 1. Once your file is ready, go to Admin Dashboard > Matching Page and click to “Import” button.

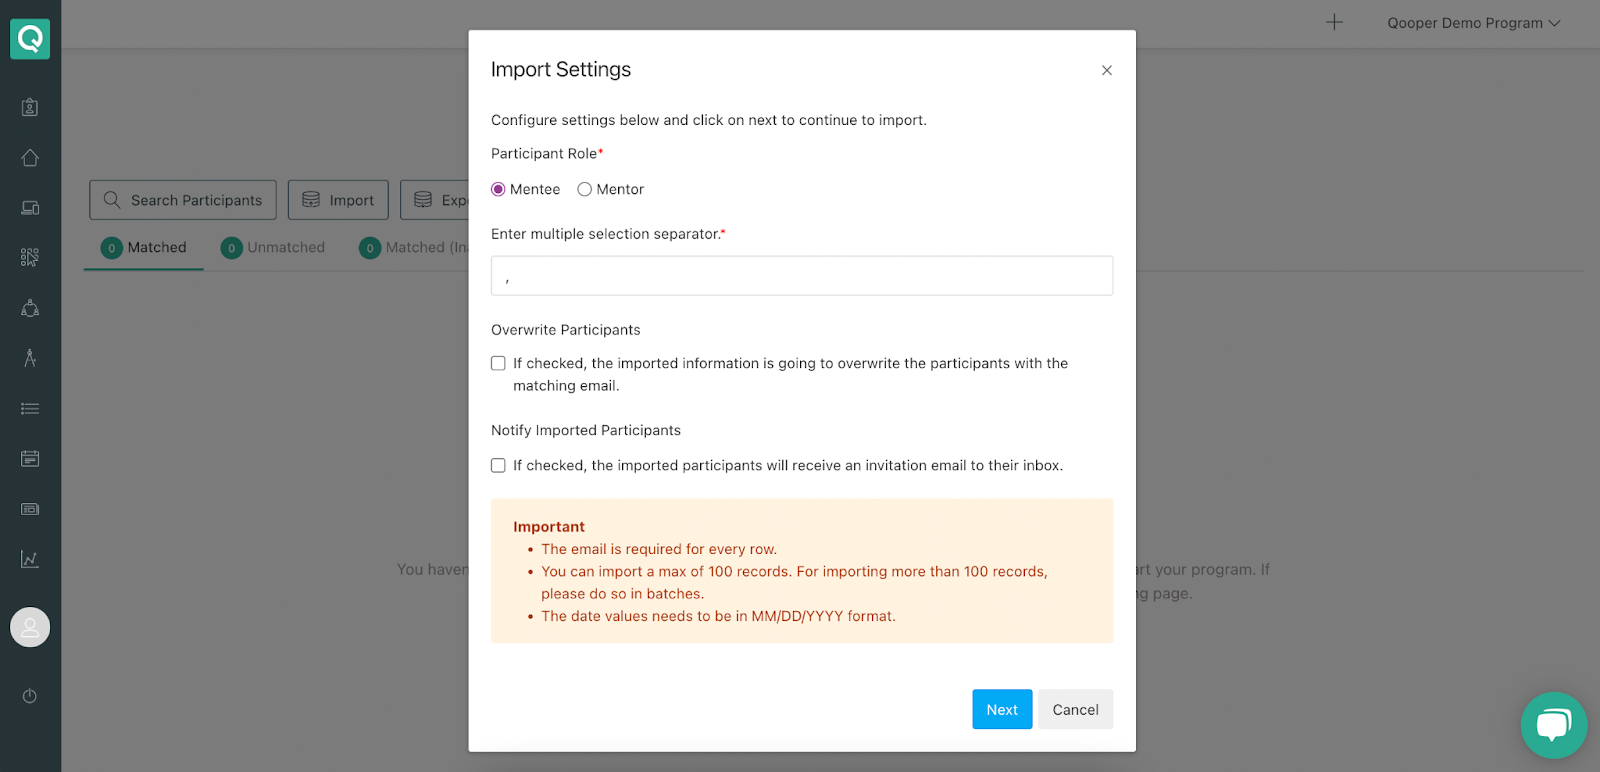
Step 2. You will see a modal asking for the participants’ roles and your multiple selection separator. Click to “Next” after you select your preferences.
Step 3. Upload your file and select your sheet

Step 4. Identify the header row in your file, if exists.

Step 5.
If you want to import your participant's info, map the columns in your file with the user ID, email, and the profile form questions in your program. Once you've mapped, click to "Confirm Mapping". You can also ignore any column that you don’t want to include at this point. Click "Review" to proceed.

Step 6. Review your uploaded data. Then click “Continue” to finalize your process.

Depending on your file’s size, it might take a couple of minutes to finalize the upload. You will be notified when your import is complete via e-mail.
When you receive the e-mail, refresh the page. You should see your users uploaded to Qooper.
Please check our article on "Importing Participants Details" below to get detailed information on importing, such as updating emails, user status, bulk suspending, etc.
https://www.qooper.io/knowledge/importing-participants-detailed