Creating a landing page on Qooper allows you to provide a customized experience for your participants. Follow these steps to design and share your landing page effectively.
Step 1: Accessing the Admin Dashboard
Sign in to your Qooper admin dashboard by visiting platform.qooper.io.
Step 2: Creating the Home Page
-
Navigate to the Materials section and locate the Landing Page subsection.
-
Click on the Edit button to access your landing page settings.
-
Upload a home page image, create a home page title, and add home page text. (Fields marked with a red star (*) are mandatory.)
-
Click Submit to save your changes.

Adding Line Breaks to Your Home Page Text To display text on new lines, insert \n where needed. This will not be visible to users but will format the text correctly when displayed.

Step 3: Creating Additional Pages
-
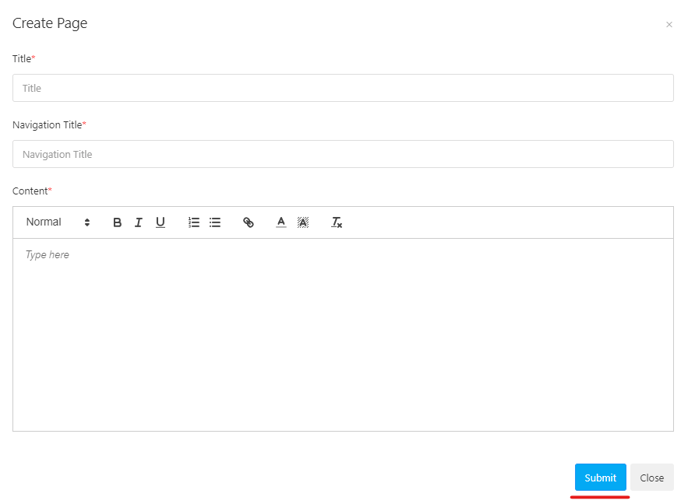
Click on Pages and select + Add Page.

-
Enter the page title, navigation title, and content.
-
Click Submit to save your changes.
-
Use the three-dot menu (...) to edit, reorder, or delete pages as needed.

-
Continue adding more pages to complete your landing page structure.
Step 4: Previewing Your Landing Page
Click the Preview button to see how your landing page appears to participants.
Step 5: Sharing Your Landing Page
-
Locate the Page link section.
-
Click the copy icon to copy the link.
-
Paste the link into emails or messages to share with participants.

Step 6: Gain Inspiration from Sample Landing Pages
For ideas and best practices, check out our Sample Landing Pages article, which showcases examples from other organizations.